

Custom 206MD
Building a camper from scratch
July 2011
Sometimes the perfect camper floorplan doesn't exist. Most of the time certain compromises have to be made between different models or different features. But what if a camper could be built from the frame up exactly as you want? Well, that's what happened in 2011 with a 10' camper we built called the 206MD.
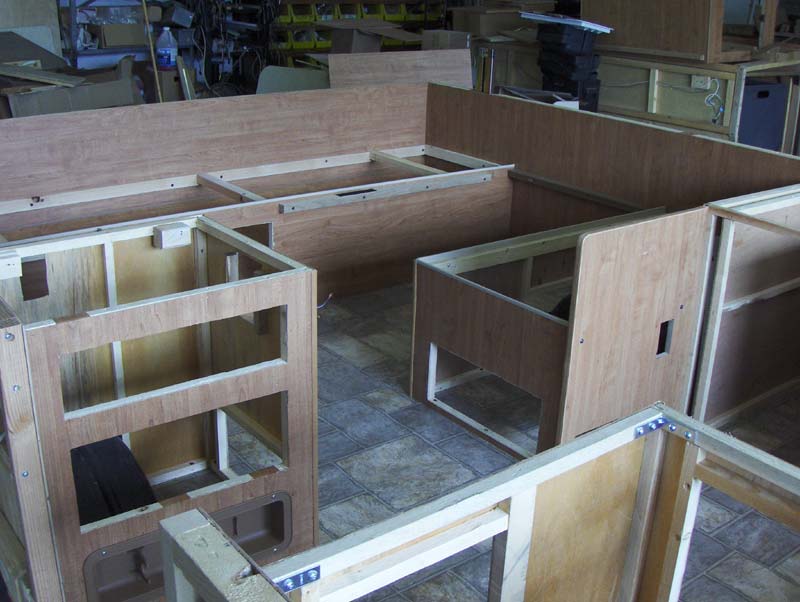
We started with just the frame, floor, and axle. To this foundation we added new linoleum, wheels, and the beginning of the box frame.
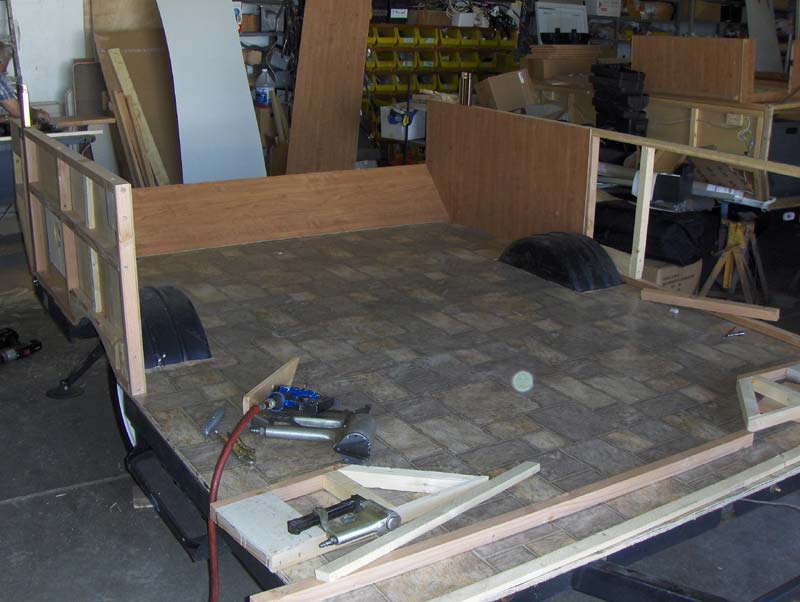
Adding the box frame and seating takes time. Without factory plans and jigs each piece has to be measured out and cut individually. Components will be added to the box later so extra planning in this stage is necessary to make sure the frame is where it needs to be to support the future components but not block any cut-outs for installing appliances and extra features.
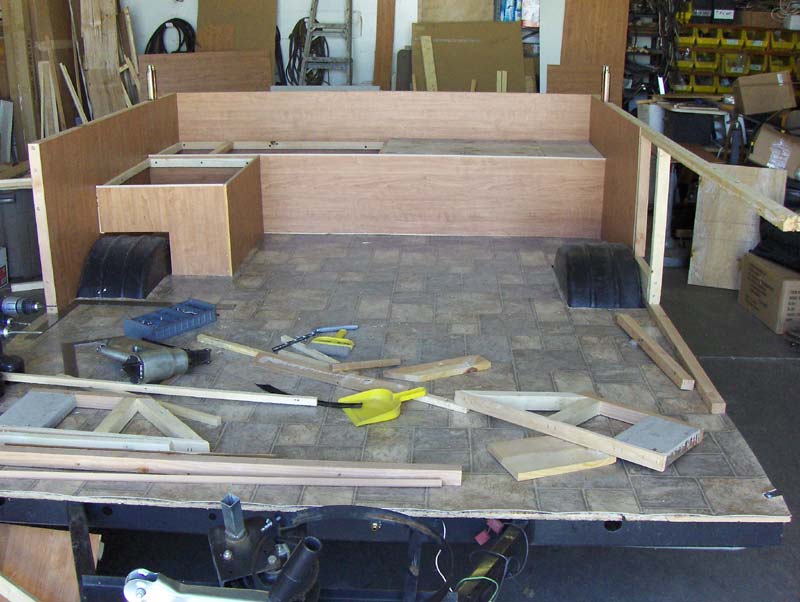
The entry console is nearly complete and the second part of the dinette seat is coming together.
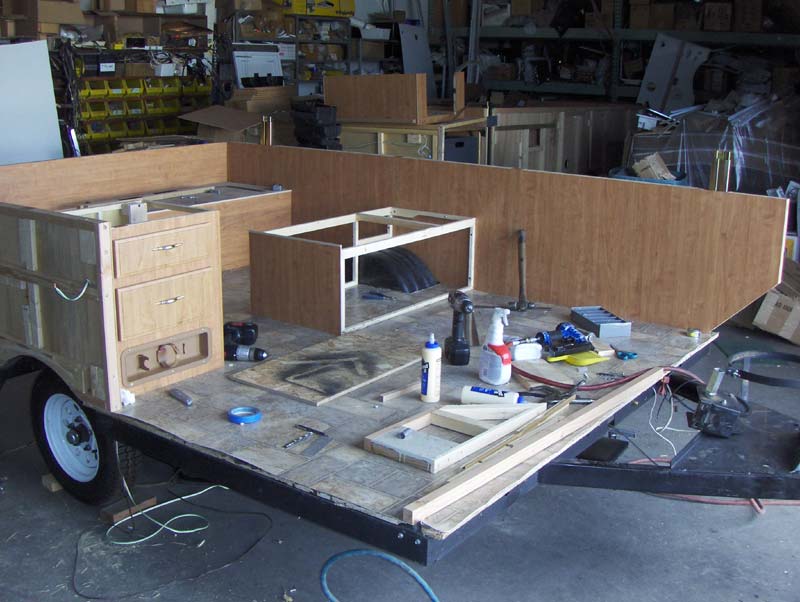
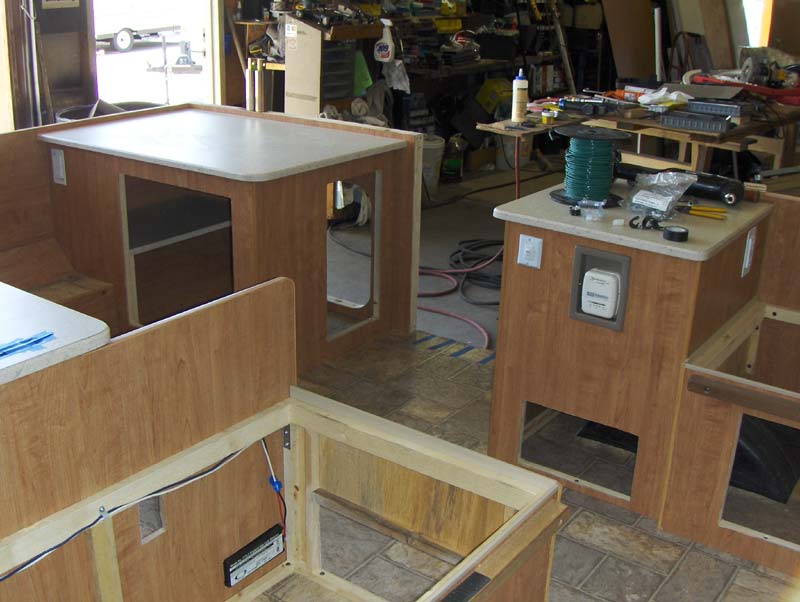
We finished framing the box and interior components. Next comes the electrical system and any other cabinet-mounted features before the counter-tops block the best access to these areas.
With the electrical and appliance systems in place we can install the counter-tops. After some finish-work (like filling screw or staple holes and caulking counter perimeters) we'll be ready to install the cabinet doors.
Almost done! The exterior panels, stripe, and moldings are on; the body is now ready for caulking and the installation of the entry door, baggage door, beds, and roof.
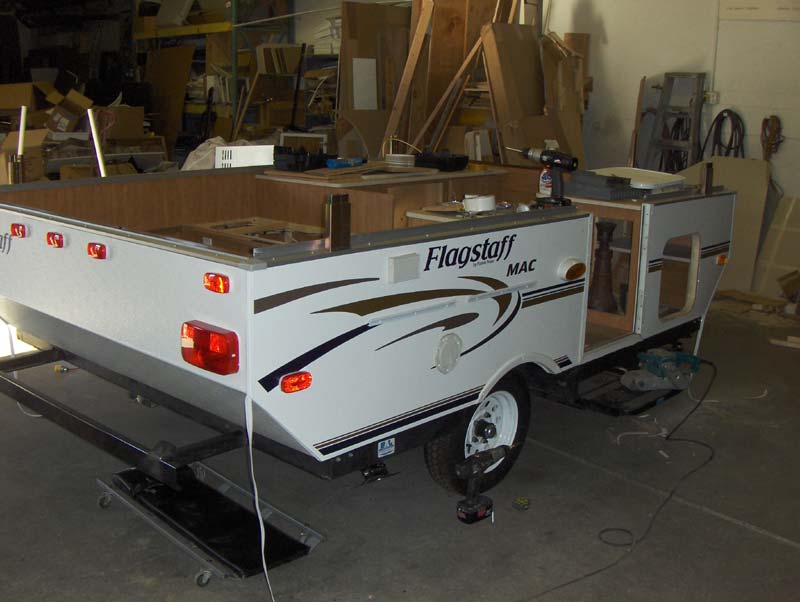
Attaching the roof to the lift-system is relatively easy; we use battery boxes to hold the roof while we align the lifter posts with the roof mounts. Lastly we need to install the tent, mattresses, spare tire, and awning.
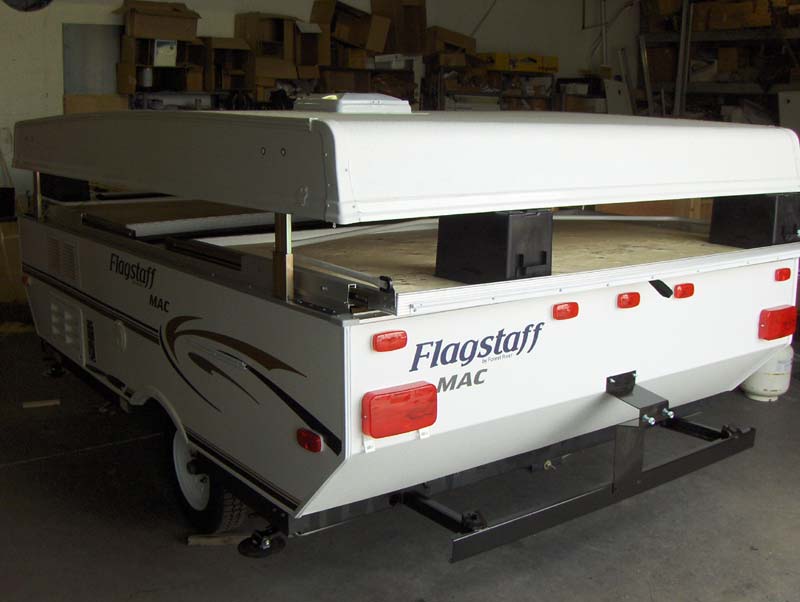
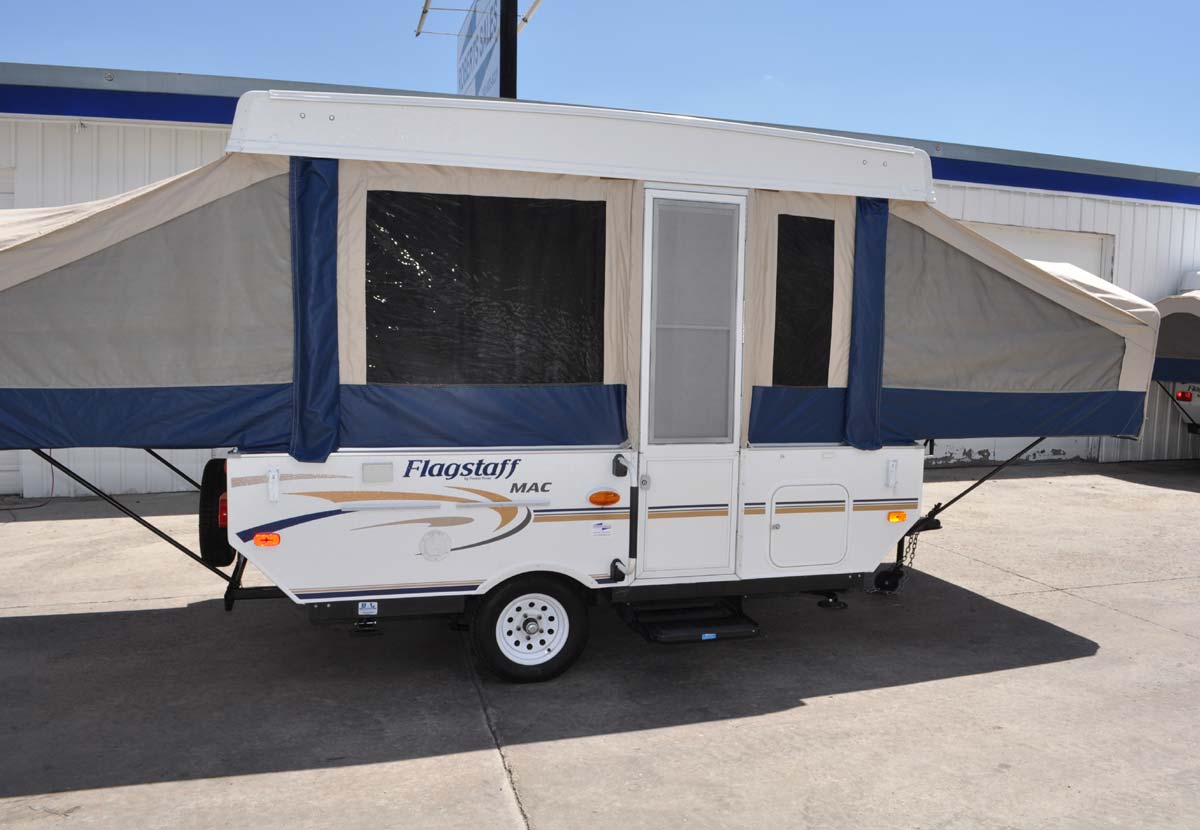
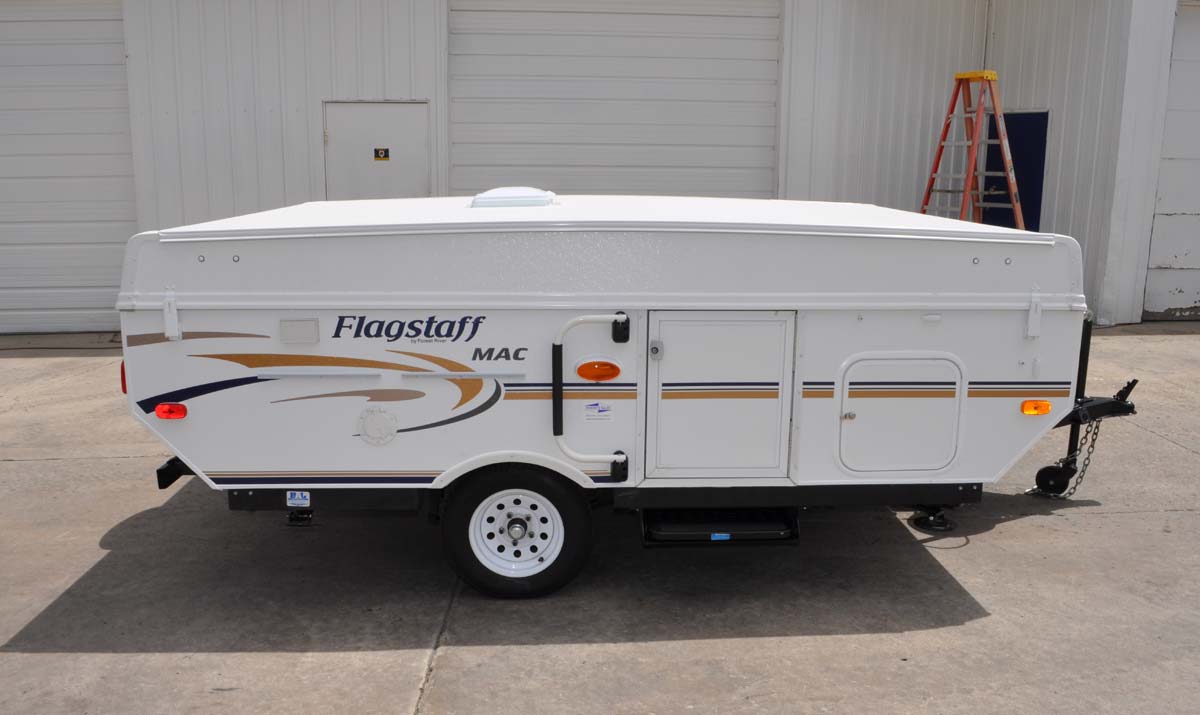
At last the camper is done! In addition to new graphics we've added an oversize baggage door and entry handle.
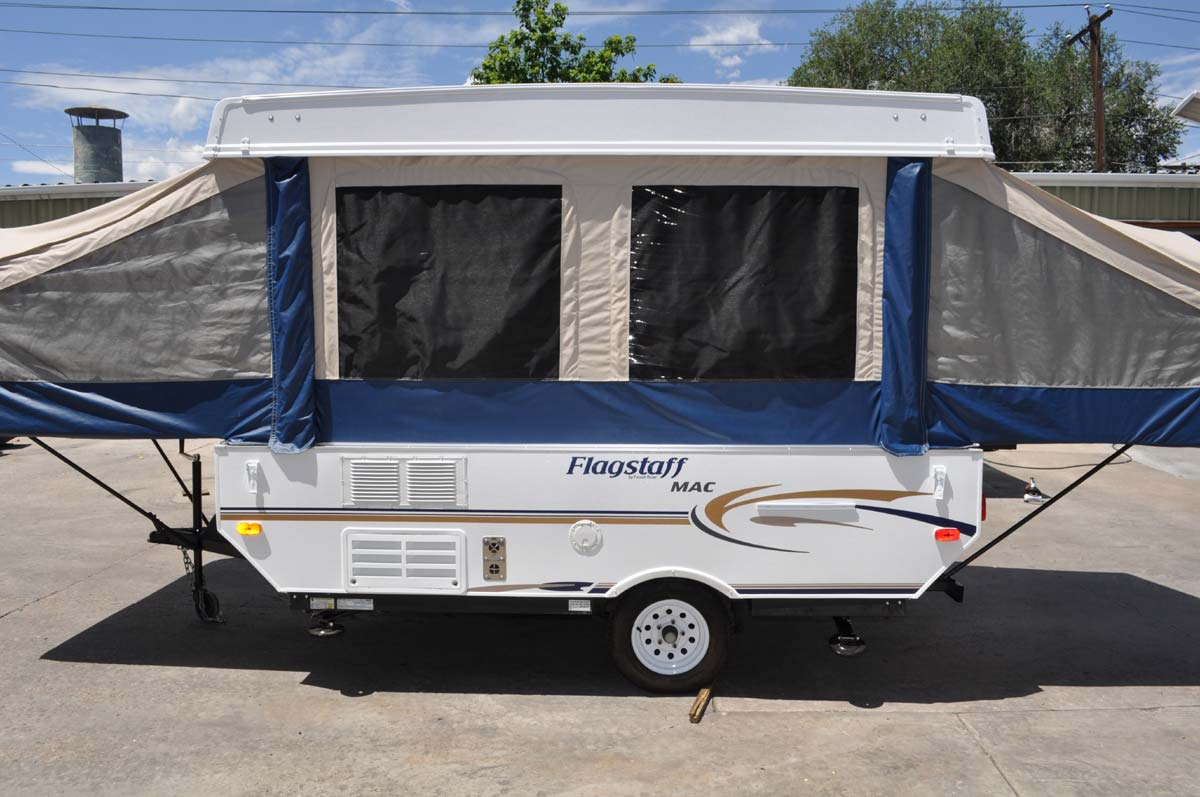
The back-side of the 206MD shows the fridge vent, heater intake/exhaust, and 110V power hook-up.
The rear view of the 206MD shows the entry console, dinette, backing board support for the dinette, and the rear bunk.
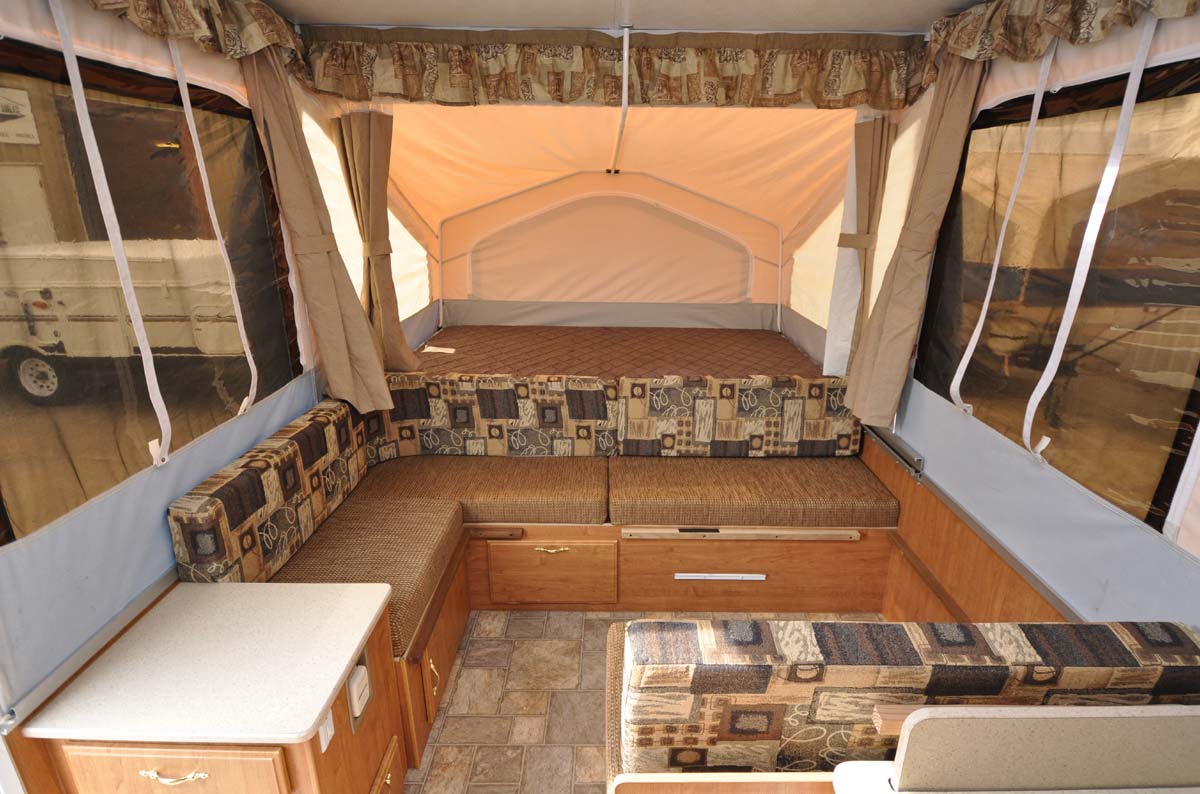
The "J-dinette" provides extra seating over the standard 4-seat dinette.
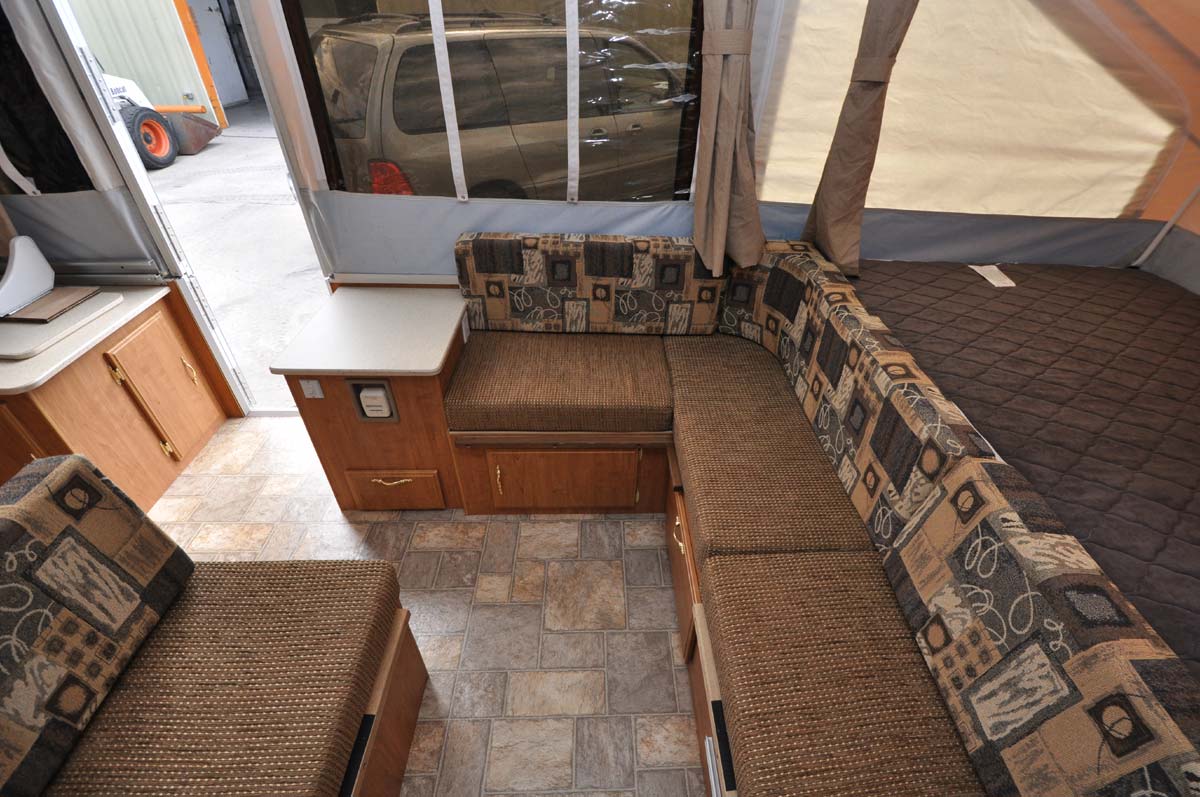
The only hiccup we couldn't overcome was the location of the wheel well. A wheel well cover was added for aesthetics.
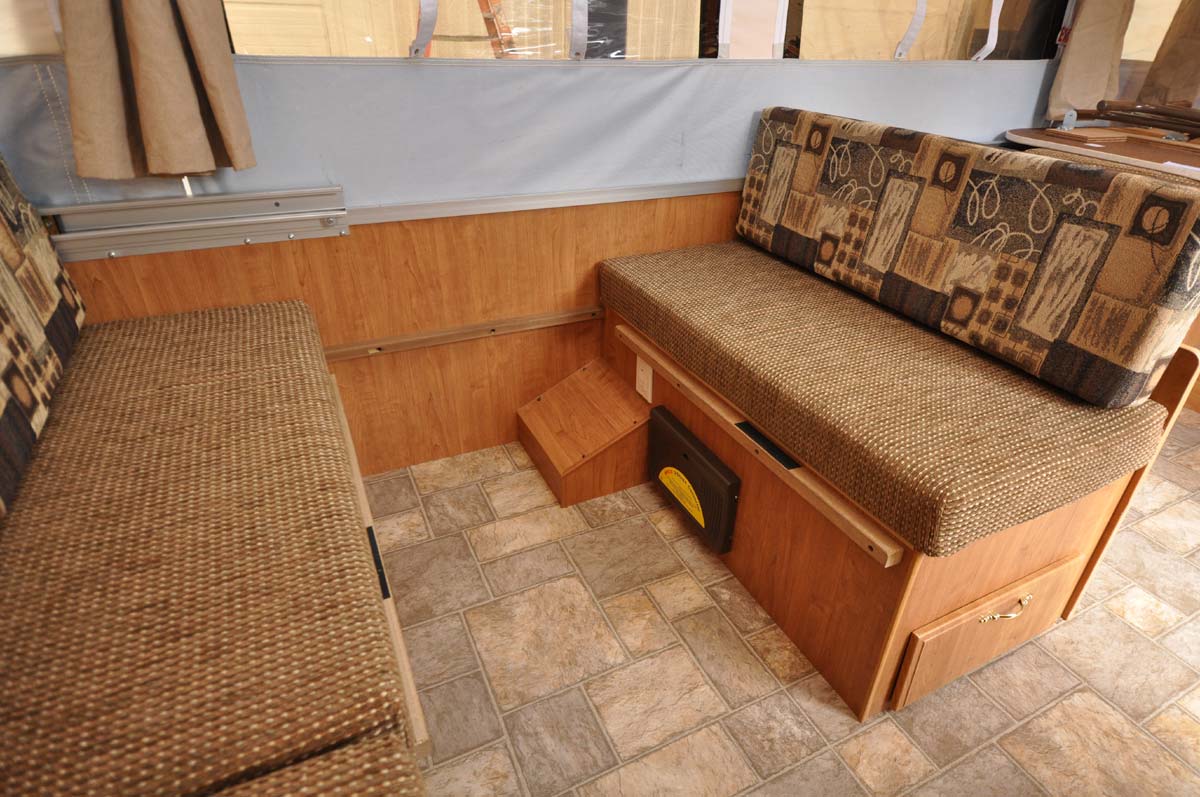
When the table and dinette backing board are folded down the dinette turns into a large third bed.

This photo shows the location of smaller items like the fire extinguisher, propane detector, a master switch for the ceiling lights, extra outlets, and the furnace thermostat.

Building a camper from scratch gives us new appreciation for what the factory does every day. The sheer quantity of parts, panels, moldings, trim pieces, fittings, fasteners, and inter-working systems in even a basic 10' camper is mind-boggling.
Sometimes people make a comment like, "There's not much to them [pop-up campers], is there?" Well, perhaps in comparison to a car or airplane a pop-up camper is relatively simple, but it's still amazing the amount of planning and work that goes into each one. It's an engineering feat to pack so much utility into a camper that expands to double it's original size and provides the amenities a pop-up offers.
![]() Back to Customize It! or Service
Back to Customize It! or Service
Privacy © 2009-2025 Roberts Sales. All rights reserved.